Channel
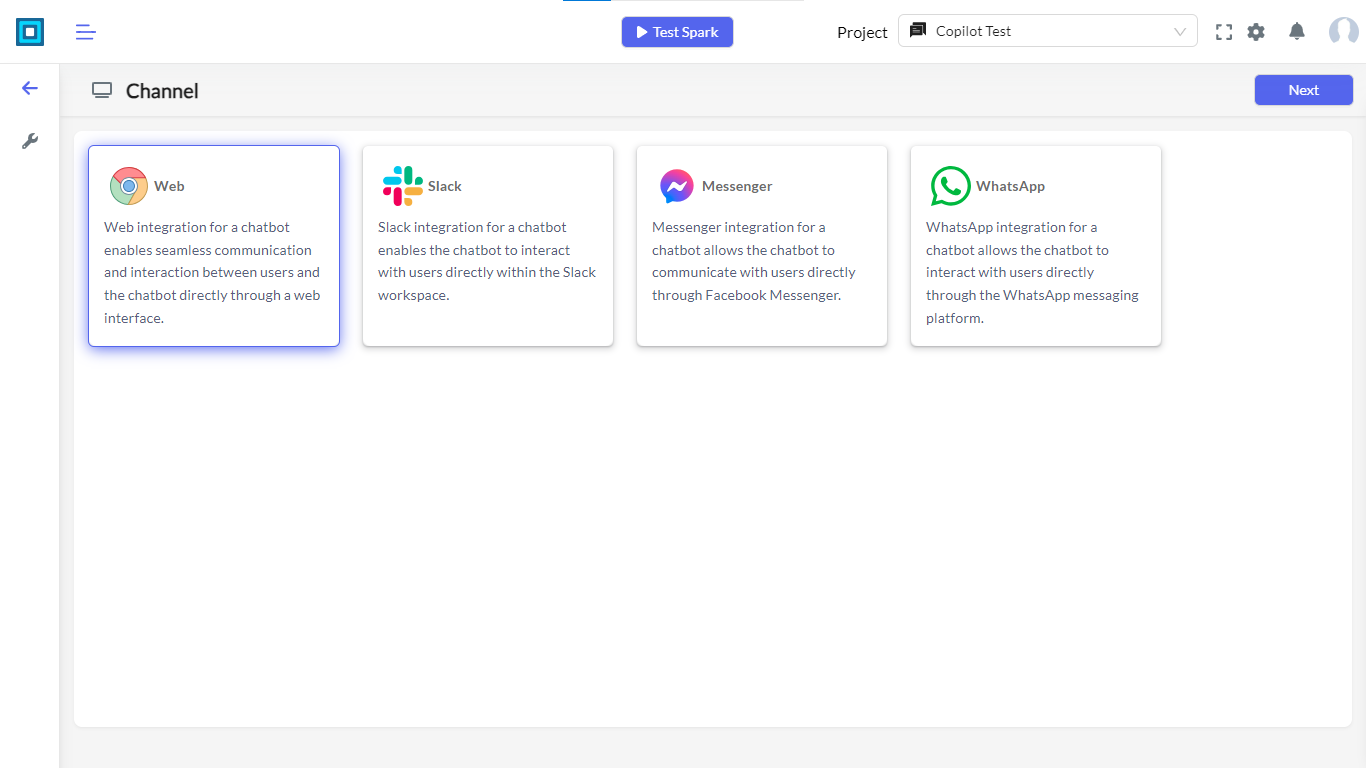
The Channel settings menu in the Digisquares platform allows users to configure different channels for integrating their chatbot. This enables seamless communication and interaction between users and the chatbot through various platforms, including Web, Slack, Messenger, and WhatsApp.

Configuring Channel Settings
After selecting a channel, users can enter the respective configuration pages to connect the channels to their project. Here are the steps and details for configuring each channel:
- Web Channel
- Slack Channel
- Messenger Channel
- WhatsApp Channel
Web Channel Configuration
- Select Web Channel: Click on the Web channel card to enter its configuration page.
- Add Stage: Click on the "Add Stage" button. Select the stage (Development or Production) from the dropdown menu and click Save to add the stage.
- Chatbot URL: Enter the Chatbot URL that will be used for the web integration.
- Chatflow: Define chatflows that will be used within this channel, specifying the chatflow name and actions.
- Roles: Assign roles and permissions for the chatflow actions.
Ensure the Chatbot URL is accessible and correctly points to the application hosting your chatbot for a smooth user experience.
Slack Channel Configuration
- Select Slack Channel: Click on the Slack channel card to enter its configuration page.
- Add Stage: Click on the "Add Stage" button. Select the stage (Development or Production) from the dropdown menu and click Save to add the stage.
- Slack Configuration:
- Name: Enter the name for the Slack integration.
- Webhook URL: Provide the webhook URL to connect Slack with the chatbot.
Update the Webhook URL periodically for enhanced security, especially if Slack permissions change.
Messenger Channel Configuration
- Select Messenger Channel: Click on the Messenger channel card to enter its configuration page.
- Add Stage: Click on the "Add Stage" button. Select the stage (Development or Production) from the dropdown menu and click Save to add the stage.
- Messenger Configuration:
- Slack Sign-In Key: Enter the Slack sign-in key.
- Bot Key: Provide the bot key for integration.
- Slack Channel: Specify the Slack channel for communication.
Be mindful of rate limits and permissions for the Messenger bot to ensure reliable communication with users.
WhatsApp Channel Configuration
- Select WhatsApp Channel: Click on the WhatsApp channel card to enter its configuration page.
- Add Stage: Click on the "Add Stage" button. Select the stage (Development or Production) from the dropdown menu and click Save to add the stage.
- WhatsApp Configuration:
- Name: Enter the name for the WhatsApp integration.
- Phone Number ID: Provide the phone number ID used for the WhatsApp integration.
- Access Token: Enter the access token for authentication.
- API Endpoint URL: Provide the API endpoint URL.
- Business Account ID: Enter the business account ID for the WhatsApp integration.
Regularly review and rotate the Access Token for WhatsApp to maintain security and prevent unauthorized access.
Conclusion
The Channel settings menu in the Digisquares platform provides a variety of options for integrating your chatbot with different communication platforms. By configuring the available channels (Web, Slack, Messenger, and WhatsApp), users can ensure seamless interaction between their chatbot and users across multiple platforms. This comprehensive configuration enhances the chatbot's functionality and user engagement within your project.
To maintain secure and effective integrations, regularly update access tokens, webhook URLs, and other credentials associated with each channel.